
Accounts payable payment Processing
|
Payment Selection Maintenance |
Last Revised: 01/31/14 |
Payment Selection Maintenance is used to adjust invoices that were automatically marked for payment through Payment Selection.
Note: the invoice record itself is not changed through this program; only the amount that is being paid on the invoice changes. To change the actual invoice record, see Invoice Maintenance.
The purpose for this program is as follows:
- Invoices that were automatically selected for payment can be removed from a payment batch.
- Updated invoices that were not automatically selected for payment can be added to a payment batch.
- The amount being paid on an invoice can be adjusted in order to make a partial payment.
- Invoices that were put "On Hold" can be released for payment.
- Invoices for Miscellaneous vendors that were reversed can be selected for a payment batch in order to offset the original invoice. (See * below for specific procedure.)
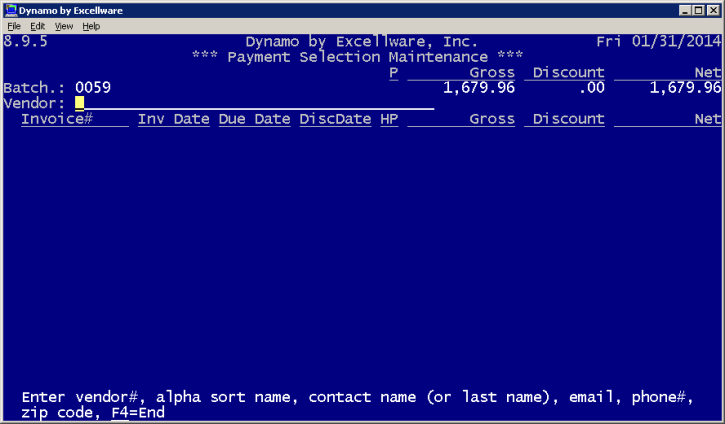
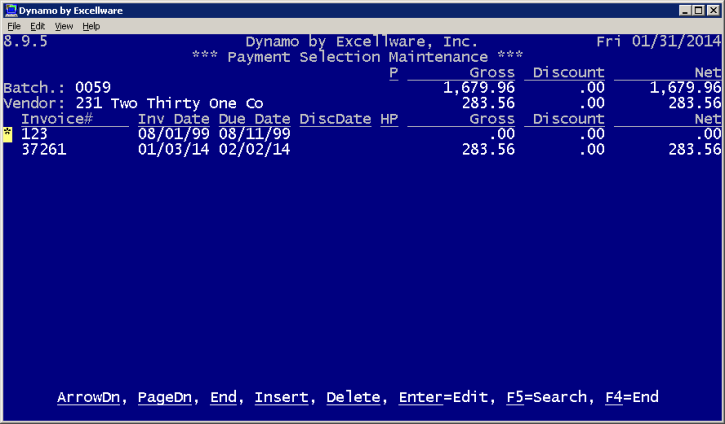
The first screen displays all existing payment batches (typically only one). Upon selecting a batch, the Gross, Discount, and Net amounts for this batch display in the header. Enter a vendor requiring a payment adjustment. The following options will display:
1. Maintain payment #1
This option is used to adjust or delete existing payments in this batch. It is also used to add an updated invoice (not automatically selected) to the existing payment.
Note: a "payment" can reflect one invoice being paid or multiple invoices being paid.
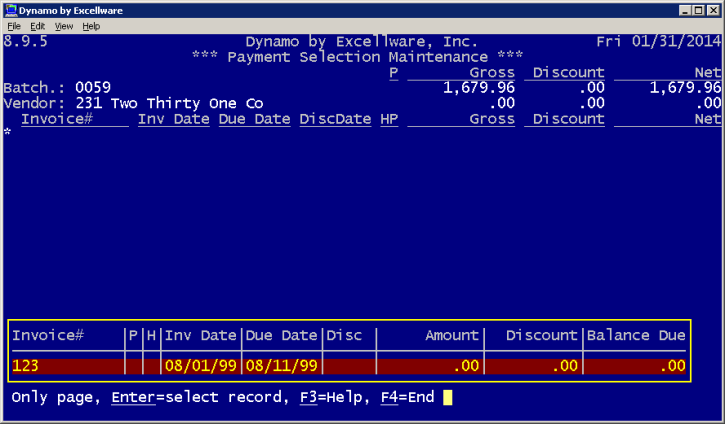
Existing payments for this vendor will display. Using the arrow keys, position the asterisk (*) at the line to be edited, deleted, or inserted. Once the * is positioned next to the payment needing adjustment, press Enter and the cursor moves through the payment detail, allowing you to accept or adjust. The Batch totals (Gross/Discount/Net) will automatically reflect any changes.
Press Delete to remove an invoice that was selected for payment.
To add an updated invoice to this payment batch, press the Insert key at any line OR move the * down to a blank line. Press Enter(=Add) and the vendor's updated invoices will display. Upon selecting an invoice to add, the blank line fills in. Press F4 until you exit to the menu and proceed to print the Payment Selection Register.
If you wish to include a new invoice to the payment batch but want it to remain as a separate payment, use the option "Add a new payment for this vendor."
2. Add new payment for this Vendor
This option is used to add an invoice to the payment batch that was not automatically selected for payment. The invoice will be included in the batch as a payment that is separate from the existing payments for this vendor (i.e. a separate check will print for it).
Once this option is selected, you will be prompted to indicate the Payment Method for this separate payment. At this point, updated invoices for this vendor display. (If any of these updated invoices currently exist in this payment batch as a separate payment or currently exist in another payment batch, the display shows a zero balance due.) Select the invoice to be added to this payment batch as a separate payment.
If you select an invoice that was put on Hold, a "warning" prompt will ask you to confirm that this invoice should be released for payment.
If an invoice is selected that has already been marked for payment through Payment Selection, you will be prompted that this invoice is already scheduled to be paid.
After adjustments are complete, reprint the Payment Selection Register. Review the register for accuracy and proceed to Check Printing.
Note: An underlined command, such as Insert or Delete refers to the keys themselves.
Add Miscellaneous vendor's reversed invoice to a payment batch
As an example, John Smith is a Miscellaneous vendor for which an invoice has been previously entered and updated. The invoice has been reversed through Invoice Data Entry.
During Payment Selection, the offsetting or reversed invoices for Miscellaneous vendors will not be picked up since all transactions labeled as "M" are regarded separately. You must add this offsetting or negative amount to the payment batch through Payment Selection Maintenance as follows:
1. Enter "M" as the vendor. A box displays with an option to Maintain Payment (e.g. for John Smith) or Add New Payment.
2. Select Maintain Payment for John Smith (original invoice information displays on a line preceded by an *).
3. At this point we want to add the offsetting (reversed) invoice to this payment batch. Press the down arrow key (the asterisk moves to a blank line).
4. Other invoices for John Smith display. Highlight and select the offsetting invoice and this invoice information displays at the *.
5. Press F4.
6. The option box to Maintain Payment or Add Payment displays again. At this point you can hit F4 until you exit the screen or select another Miscellaneous vendor and go through the same process.
Print the Payment Selection Register again for this batch and you will see the offsetting invoices that equal zero. No check will print since the balance is zero. If these offsetting invoices are the only payments in this payment batch, your batch will show the number of Misc. vendors under "count" and a zero balance. Even though no check will print, you must still continue with the Check Printing process. Run the Check Register and Check Update.
Note that if a payment batch contains only permanent vendors with offsetting invoices, the batch "count" shows 0 with a 0 balance. This batch won't display as a choice during Check Printing so you can't run a Check Register as in the case for Misc. vendors. You will see these offsetting invoice in Vendor Inquiry, however.